Download & Install FileZilla
Now you need a way to transfer your pages to the Internet so that other people can see them. For this tutorial, I'll be using FileZilla. The DOWNLOAD and INSTALLATION will be basically the same as for SeaMonkey.
Skip to SET UP Filezilla
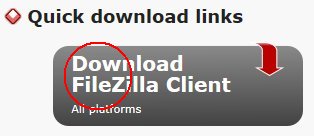
- GO TO https://filezilla-project.org/
- CLICK the FIRST gray box that says Download FileZilla Client (NOT Server).
If you're using a Mac, CLICK here.
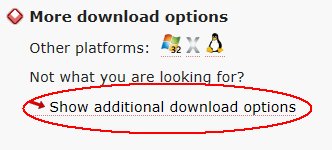
- At the bottom of this page, CLICK Show additional download options.
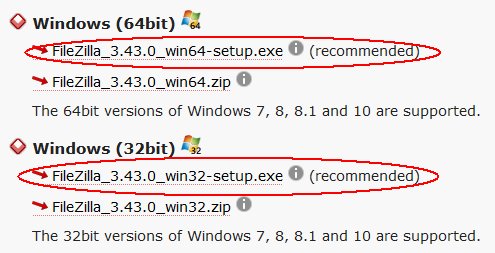
- If you KNOW you are running a newer version of Windows that is 64bit,
CLICK the first option for 64bit. Otherwise, CLICK the
first option under 32bit. (You can run a 32bit program on a 64bit machine but rarely the opposite.)
- CLICK 'Save'.

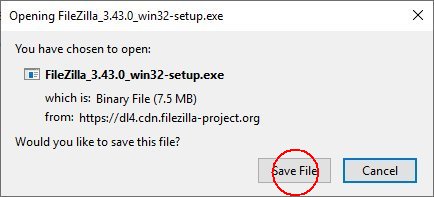
- When the file has finished downloading, you will need to FIND it and DOUBLE-CLICK it. Most browsers save it in a folder called Downloads and it's called something like FileZilla_3.43.0_win64-setup.exe. If you can't find it, try these tips.
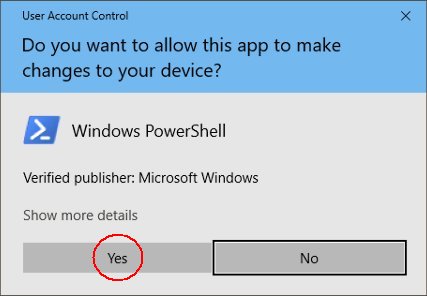
- Windows will ask your permission to install the program and the window will look similar to this. CLICK Yes.
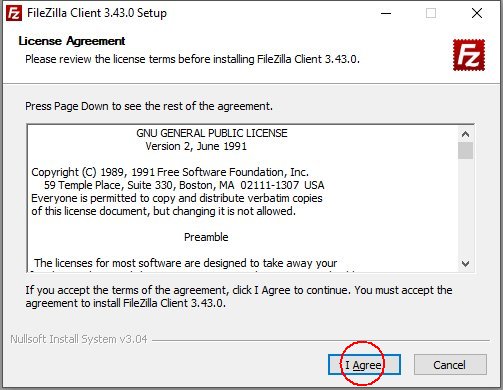
- In the small window that says 'License Agreement', CLICK I Agree.
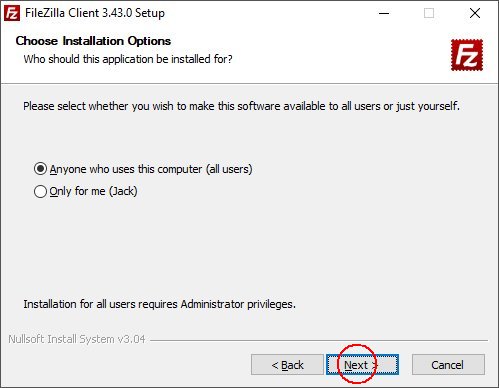
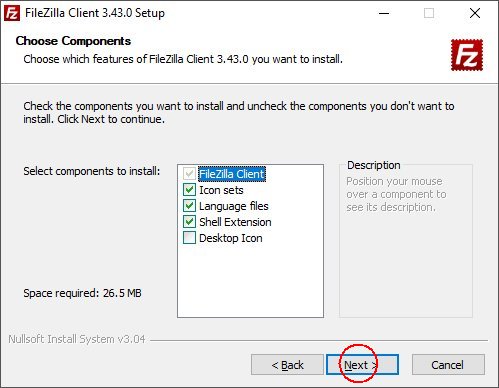
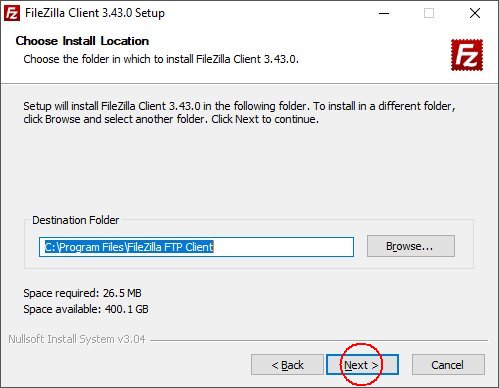
- CLICK Next in the next three windows, you don't need to change anything.
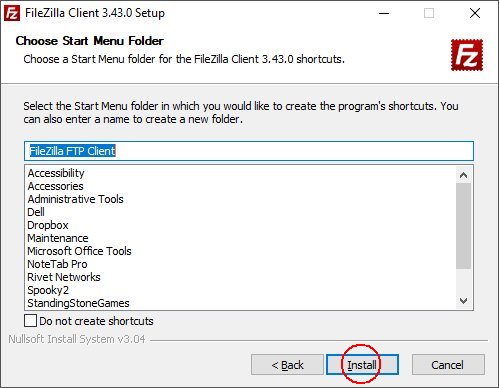
- At 'Choose Start ...', CLICK Install.
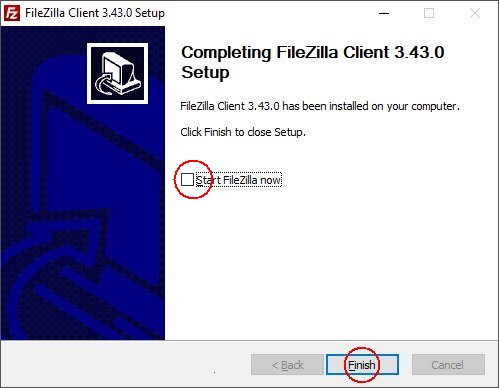
- CLICK to UNCHECK the box for 'Start ... now'.
- CLICK Finish.
- Congratulations! You have downloaded and installed two new programs for your webmaster suite, including an icon on your desktop for FileZilla.
SET UP Filezilla
Before you can use FileZilla, you need to type in some information so it can find your webspace on the Internet. If you already have a username and password, that's great. If you don't, Contact Me and I'll set up a practice space for you on my website. You'll need that information BEFORE you can setup FileZilla.- FIND the FileZilla Icon on your desktop (the main screen) and
DOUBLE-CLICK it.

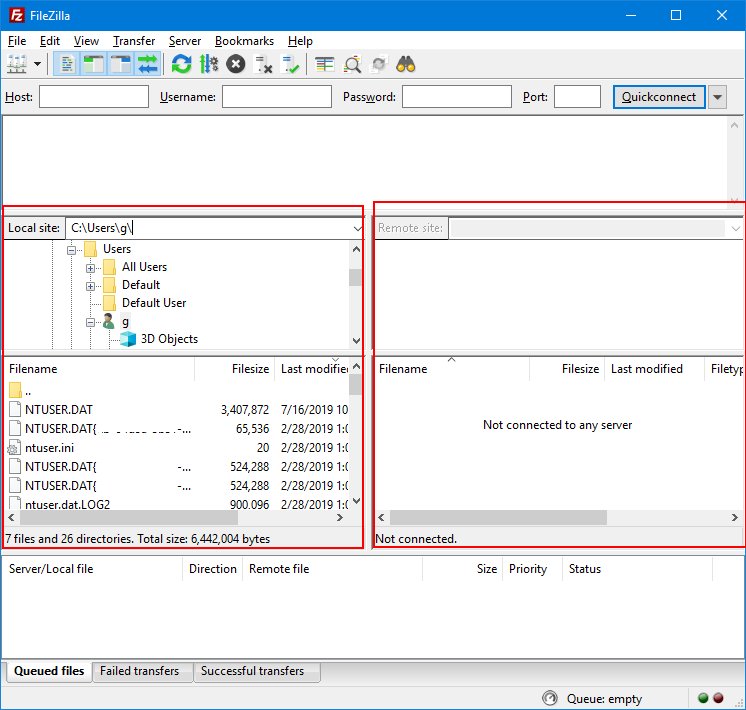
- The app will show a window with 4 PANES. The panes on the LEFT are the directory of your computer
(including any network you're connected to). The panes on the RIGHT will be the directory of your website once you
login; they should be empty for now. If you find it easier, you can click the square in the top right corner to maximize
the window. I actually use mine at a size where I can just see the file names on both sides.
- The first thing to do is to setup a login. In the top left corner, underneath the word 'File',
there is a small server icon with a dropdown triangle. The server icon will bring up your SITE MANAGER and the triangle
will bring up the LOGIN options. This is handly when you have a lot of sites. CLICK the
server icon.


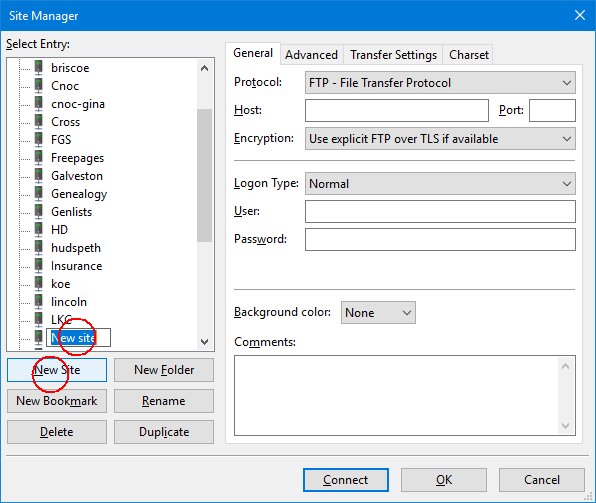
- CLICK 'New Site' and TYPE a NAME
for your site that will distinguish it from any other sites you may create later. Tap the ENTER key on your keyboard to
save the site name. As you can see, I use a wide variety of names for mine.
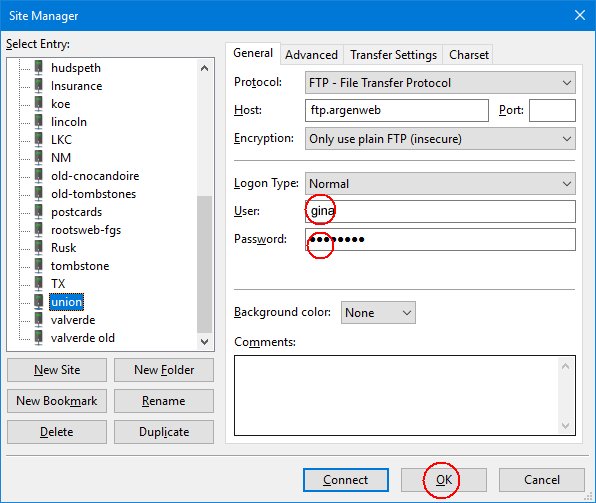
- CLICK inside the empty box on the right and type in YOUR SERVER
NAME (not the one in the image). You can leave PORT blank for now. CHECK that the gray
boxes do match the ones in the image. If they don't, you can CLICK them and choose the correct entries.

- In the appropriate boxes, TYPE your username and password, OR COPY AND PASTE them (your password will be represented by circles) and CLICK
OK. The window will close and save your entries.
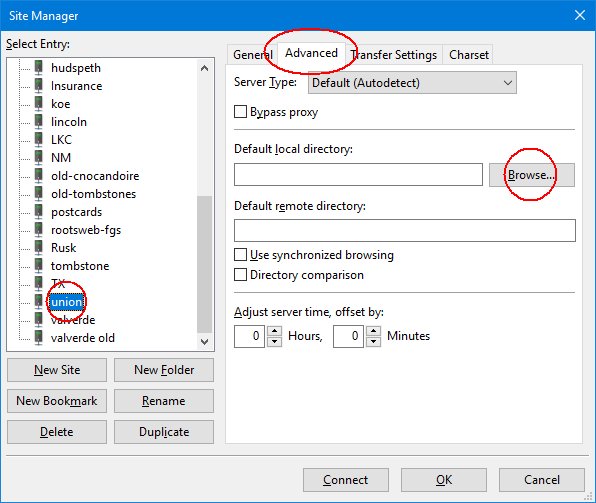
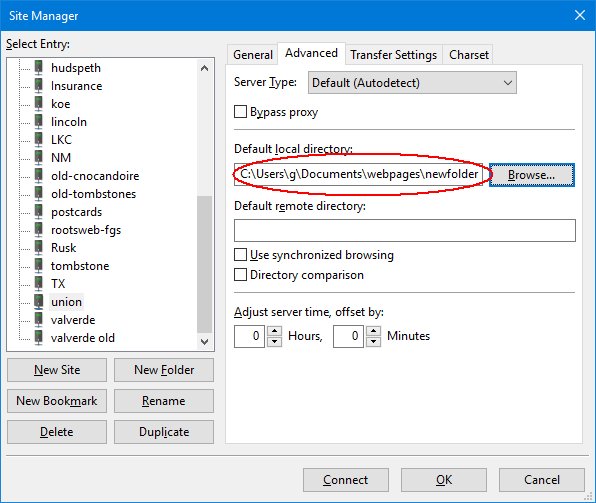
- CLICK the icon to re-open the site manager. CLICK the name of the site
you just created. CLICK the Advanced tab at the top middle and CLICK Browse.
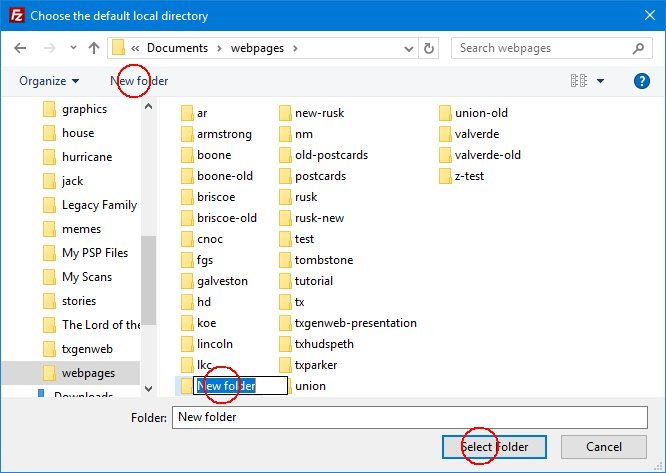
- IF YOUR BROWSE WINDOW LOOKS LIKE THIS ONE, CLICK 'Documents' in the list on the left. As you can see I
have a folder to hold ALL my websites. IF YOUR WINDOW DOESN'T LOOK LIKE THIS ONE, SKIP to alternative.
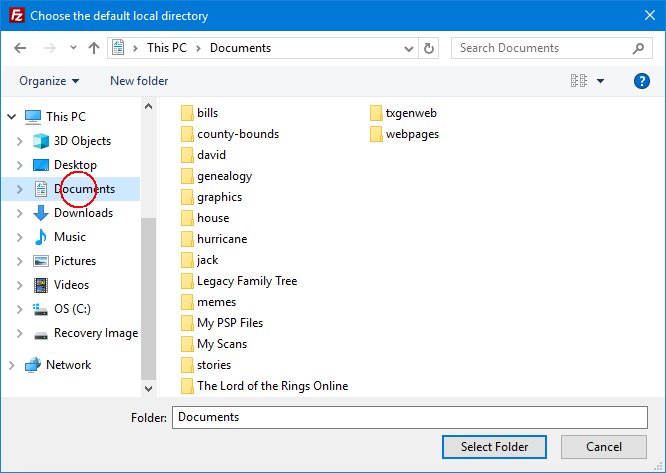
- If you have already created a folder for your website, CLICK on its name. DON'T OPEN it.
- If you haven't yet created a folder, CLICK 'New Folder' at the top and TYPE
a name for it, ENTER.
CLICK 'Select Folder'.
- IF YOUR BROWSE WINDOW LOOKS MORE LIKE THIS ONE, CLICK the dropdown at the top
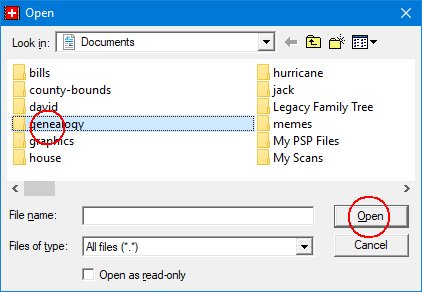
and find 'Documents' or 'My Documents'. Then either FIND a folder that you have already created
OR (3rd image)
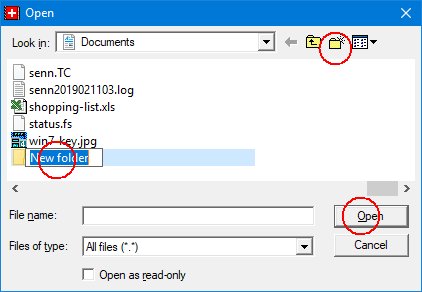
CLICK the yellow, sparkly icon at the top, give your new folder a NAME, then ENTER.
Finally, CLICK 'Open' or 'Select Folder'.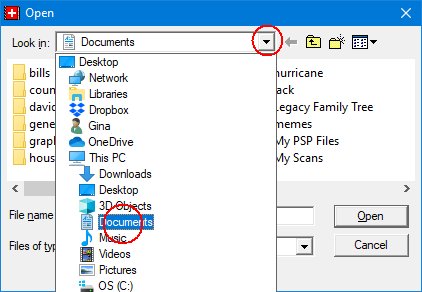
- Now FileZilla knows where to look for your pages. CLICK OK.
Speeding right along, you have downloaded, installed and setup FileZilla. With the WORK out of the way, we can start having FUN!