Planning Your Website
I prefer to use pencil and paper to decide how I want my site to look. Do I want a menu down one side? Do I want a menu across the top? Or to heck with a menu, I'm gonna put all my links in the middle of the first page and have a 'Home' button on the rest of the pages. Do I want columns? Should I use tables? Sometimes I start building a site and decide I don't like the way it looks and change it completely. I usually start with my INDEX PAGE.
That file is named index.htm or index.html (both extensions work perfectly well and I prefer htm since it's one less character I have to type for links). The file that is named index.htm or index.html is the DEFAULT page if someone types the name (URL, web address) of your directory. So I can type cnocandoire.com or txrusk.com into my browser and my index page will show up by default.
So get paper and pencil and decide what you want to do - or just crank up SeaMonkey and see what happens.
Getting to Know SeaMonkey's Composer
SeaMonkey is a WYSIWYG HTML editor (that means it turns your clicks and text into Hyper-Text Markup Language in real time so - What You See on your screen, Is What You Get on your website). It's pretty simple to use and, after you have some experience, it can be used to upload whole websites (with changes and images and extra files) at one time. For now, we're going to take it slowly and build one page and use our FileZilla to upload. It sounds like extra work but it's to help you get familiar with all the steps involved in creating, uploading, and maintaining a website.
- OPEN SeaMonkey with the icon on your desktop (or in your program menu).
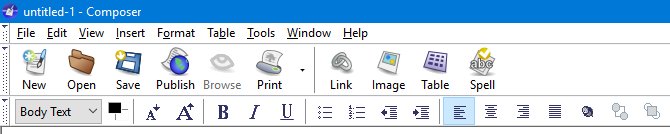
- LOOK at the top, where your Menu is located. In addition to the
menu bar, there is an icon (shortcut) bar and a FORMATTING bar and you can customize them to hold the tools you use most often.
Most folks are acquainted with menu bars so we're going to hop over them for a few minutes to something a little
different.
- Now LOOK down at the bottom. These buttons will help you find your way.
* You can see the icons on the very bottom for opening the other components of SeaMonkey.
* Next to them, you see <body>. That means you're looking at the BODY of your webpage - the stuff that will show up on the Internet - as opposed to the HEAD of the page where you store information about the page (i.e. what it's about, who created it, which version of HTML was used, etc.). Don't worry, I'll walk you through all that.
* Above those items, are 4 tabs that you can use to view the different aspects of your page.
* NORMAL is the space where you'll do most of your work.
* HTML TAGS will show you each 'TAG' (command) used on your page.
* <HTML> SOURCE is the actual CODE that is used by HTML.
* PREVIEW is the tab where you can see what your page will look like on the Internet as interpreted by Composer - and YES, different browsers show your pages in different ways, so it's good to view them in different browsers.
- At the very top, CLICK Edit and then Preferences.
- On the left, CLICK New Page Settings.
- It's time to choose the color scheme for your page. You can do it later but it's a lot easier to have all
those settings already in place when you start working on a new page.
* My page will have a white background so I want dark-colored Normal text. I'll leave it black.
* I want to be a little different than other folks, so I want my links (hyper-links) to be purple.
* Active link text is the color it flashes when you click on it, I want that to be red.
* So my Visited links will be blue. That's so folks will know which pages they've already seen.
* I'm leaving my page white but you can choose a background color if you like. If you use a background color, make sure all your text colors show up nicely on it. Blue or green on red is just atrocious.
* A little later, we'll go over background images, so leave that blank for now.
CLICK OK.
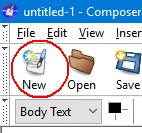
- In the ICON bar up top, CLICK the first icon for a NEW page. The first page you had open
doesn't have your color settings on it. This new one does. If you know how, you can close the first page, don't save it.
- CLICK the Normal tab at the bottom.
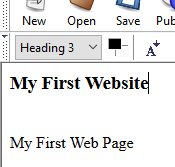
- TYPE a TITLE for your whole website, not just this page. TAP the ENTER key TWICE to skip a line. This will create a new paragraph. A single tap will create a line break, it has no space above it. Now type in a title for this page.
- TAP the ENTER key TWICE again for a new paragraph and enter some text. Try
introducing yourself to the visitors who will see it.

NOTE that the spell checker caught my newly invented compound word 'webpage' but not the missing capital F in the second title. - CLICK and DRAG your cursor across the first title to HIGHLIGHT it.
* This means CLICK either in front of the first letter or immediately after the last letter and WHILE HOLDING THE MOUSE BUTTON DOWN, move the cursor to the other position. As you 'Drag' you'll see a blue (possibly a different color) box begin to form over the text.
* Just above it, in the the FORMATTING bar, CLICK Body Text and change it to Heading 3.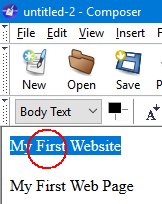
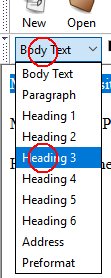
- Since this is going to be the HEADER or BANNER for our whole website, let's jazz it up a bit. If you've ever
used a word processor, you should recognize most of the tools in the formatting bar. Make sure you highlight the text before you try to change it.
You can make the text larger or smaller, change its color, make it bold, italicize it, or center it and that's just the stuff on the bar.
There are a lot more options in the menu. So decorate your SITE TITLE and your PAGE TITLE in whatever manner you want.
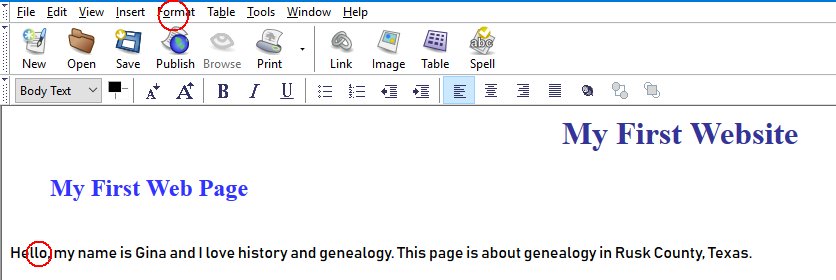
- In the above image, you'll notice that I dipped into the FORMAT Menu and chose a different font for my body text. However, you need to know that, if your visitor doesn't have that font, they WILL NOT see it. They'll most likely see Arial, Helvetica or Times New Roman. There is a special way to use fancy fonts and we'll cover that later.
- Before we go any farther, we need to save this file. It's a good idea to save it after every major change so you won't lose much
in case of a power outage or some other glitch.
CLICK the third icon (see step 12 above). A small window will pop up and ask you for the TITLE of your page. This is what will show up in the top of the browser. TYPE your title and CLICK OK.
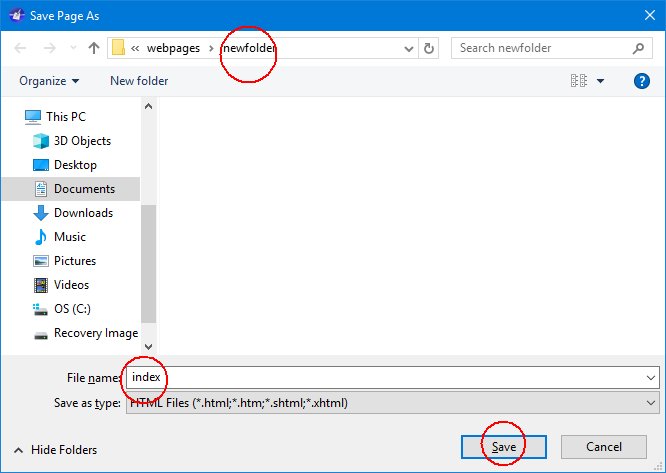
The next window is for naming the file. FIND your website folder and open it (double-click it).
Composer has already entered a file name for you but SPACES are never a good idea on the Internet and this is our INDEX page. So type index. If you want to use the shorter extension, you'll have to type index.htm. Since Composer is doing it for me, I'll use html. CLICK Save.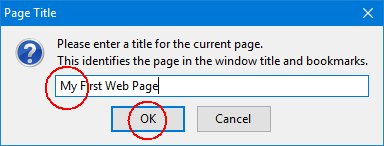
- KUDOS! You've created your first webpage.
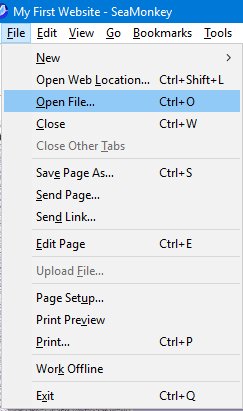
- To get the FULL effect, CLICK the globe icon at the bottom of the
Composer window to open SeaMonkey. Up top, CLICK File and then Open File; it should open
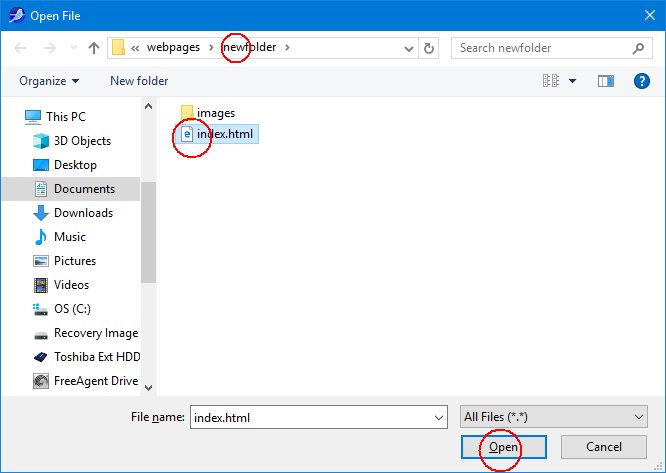
your website folder. If not, you can FIND it, OPEN it,
CLICK your index file, and CLICK Open.
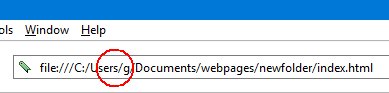
- In SeaMonkey, CLICK the ADDRESS BAR up top where it shows the
location of your page. This will HIGHLIGHT the page's location.
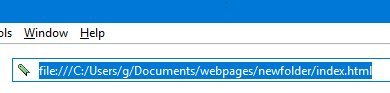
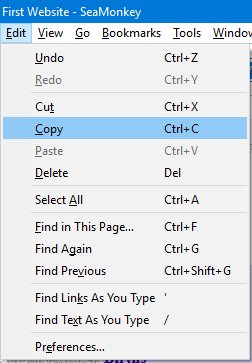
- CLICK Edit in the Menu up top. CLICK Copy.
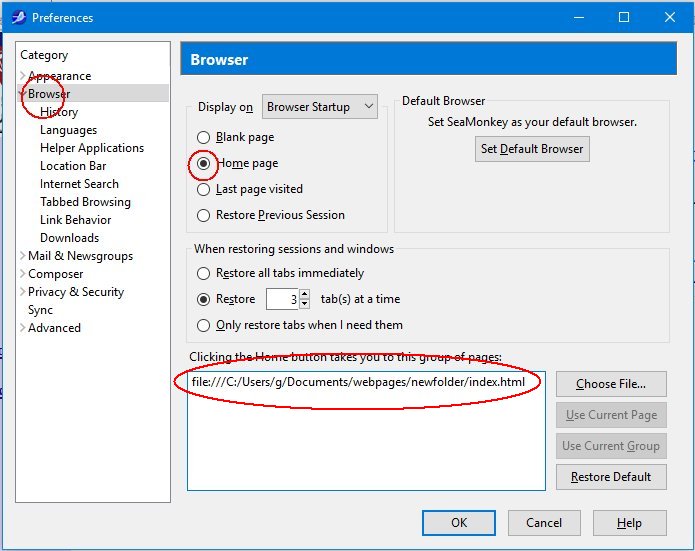
- Again, CLICK Edit in the Menu up top. CLICK the last item, Preferences (see above). In the new pop up window, CLICK Broswer on the left. CLICK to CHECK the circle for Home Page. In the
large gray box at the bottom, DELETE the text that is already there, then RIGHT-CLICK and CHOOSE Paste. CLICK OK.
- CLOSE SeaMonkey then CLICK the globe to re-open it. Your page should open automatically.