Adding Images to Your Page
Websites need a little decoration to make them look attractive to visitors; the days of plain text on a white background have been over for as long as I've been online and I've been online for a long, long time. It's easy to use color to decorate a page but sometimes you need some images. Since our final product is going to be a page for TXGenWeb, we're going to start by adding the logos for TXGenWeb and USGenWeb to our page.
Before we start, you need to understand that artwork of any kind is owned by its creator. That means you can't simply go grab something and put it on your website. You need permission to use anything you don't create. On the other hand, that photo you took of Aunt Betty at Christmas time belongs to you BUT the image of Aunt Betty belongs to her. If you want to put a picture of someone on your site, you need THEIR permission. For that reason, we don't usually put photos of living persons on our sites.
The logos we're about to use BELONG TO TXGenWeb and USGenWeb. They cannot be used on sites that DON'T belong to the web of linked sites that make up these two projects. At some point, we'll need to remove them from our new page.
- OPEN Composer and your practice page.
- The easiest way to get one of these logos is to go to a page that has it and save it to your computer.
CLICK here to go to my Rusk
County page. When you put your pointer on the TXGenWeb logo at the top left of the page, it changes to show that the image
is a link. RIGHT-CLICK the logo and CLICK Save Image As.
* In Edge, you'll click the logo then click Save Picture As (OR click Ask Cortana about this picture, click See Full-sized Image and then right-click it on the new page and Save Picture As). MS sometimes makes things too complicated.
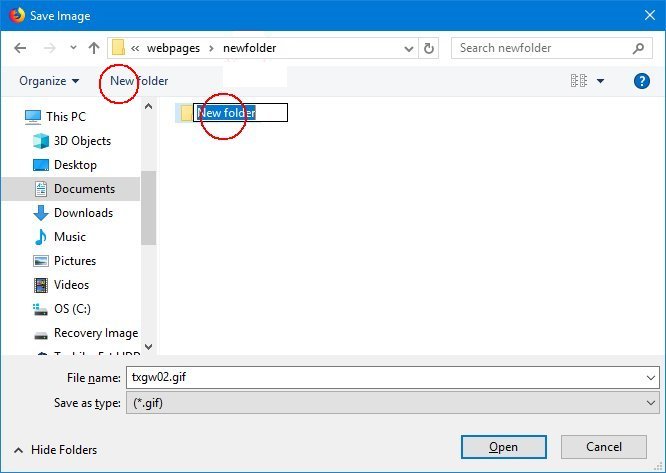
- In the pop up window, find your website folder. CLICK New folder up top and
name this folder 'images' or 'img' or 'graphics' or something similar, Enter TWICE to save the name and open the new folder. I've
chosen images.
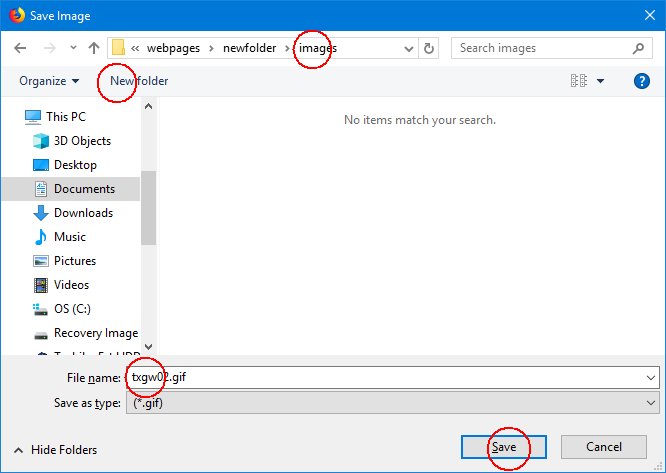
- RIGHT-CLICK the USGenWeb logo on the right and save it in the same place.
All your images - graphics and photos - with go into this folder. Think of it as the box you toss your pictures into until you
have time to put them in albums.
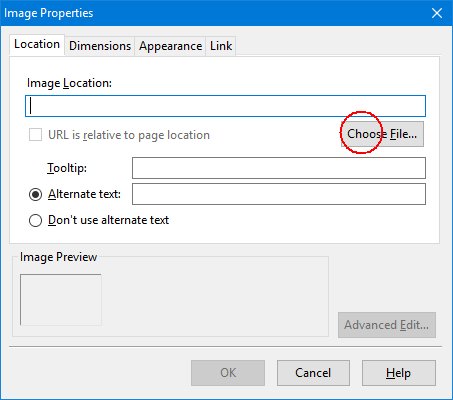
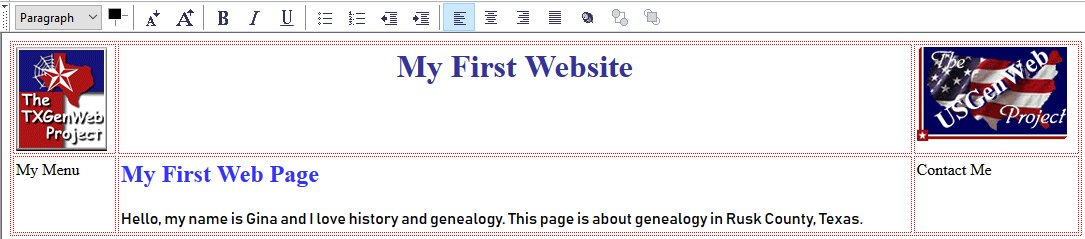
- Back in Composer, CLICK inside the box in the top left corner of the table.
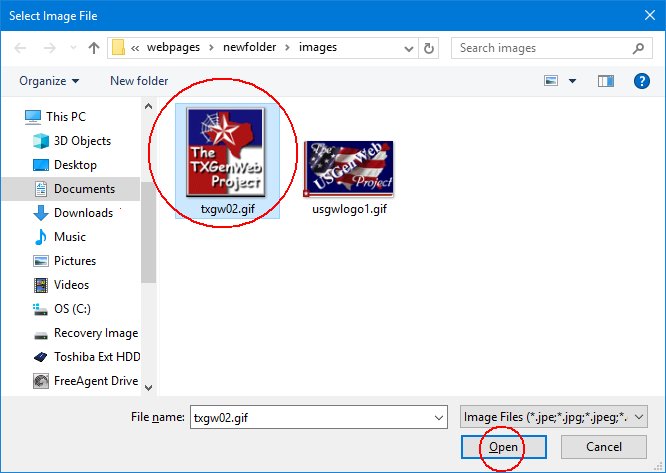
CLICK the Image icon up top. In the pop up window, CLICK Choose
File. DOUBLE-CLICK your images folder. CLICK the file called txgw02.gif.
CLICK Open.
- In the box for Alternate text, TYPE TXGenWeb logo. Nothing else needs to be changed.
CLICK OK and SAVE your page.

- Repeat step 5 for the USGenWeb logo, putting it in the top right box in the table.
- Remember when we set up our page options and we had the option of using an image as a background?
Let's do that. RIGHT-CLICK and save this purple background to your images folder.

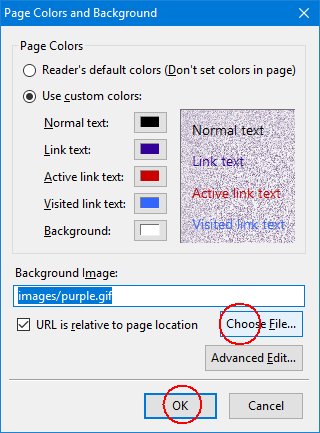
- In Composer, CLICK the Format menu up top. CLICK Page Colors and Background. Just below Background image, CLICK Choose
File. In the new pop up, CLICK purple.gif. CLICK Open,
CLICK OK. SAVE the page.
- Now we have a background image but it might interfere with people reading our page. We can fix that
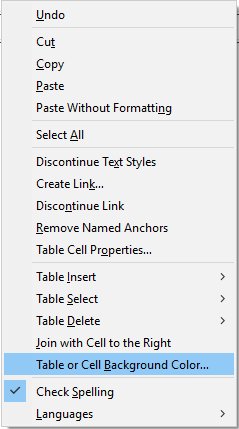
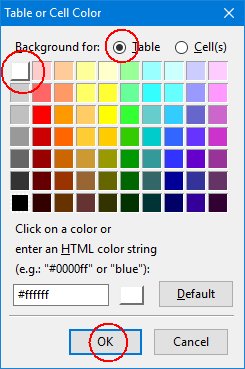
by making the table background a solid color. CLICK inside one of the cells of the
table. RIGHT-CLICK and choose Table or Cell Background Color. At the top of the next pop up, CLICK to check the option for Table, CLICK a color to choose
it, CLICK OK. SAVE your page.
Our new page is just starting to take shape but it's a little lop-sided. In the next lesson, we'll talk about positioning elements of our page.