Positioning Elements On Your Page
In our last lesson, our page was finally starting to look like a web page but it was a little off-center. In this lesson, we'll discuss positioning. Everything on the page can be positioned RIGHT, CENTER, LEFT, TOP, MIDDLE, or BOTTOM. If you get into advanced page building, you can tell an element to stay in one spot according to coordinates that you choose. It's possible to put a yellow Post-It note in the bottom right corner of the screen and have it stay there while your vistor scrolls up and down the page. But that's for much, much later.
- OPEN Composer and your practice page.
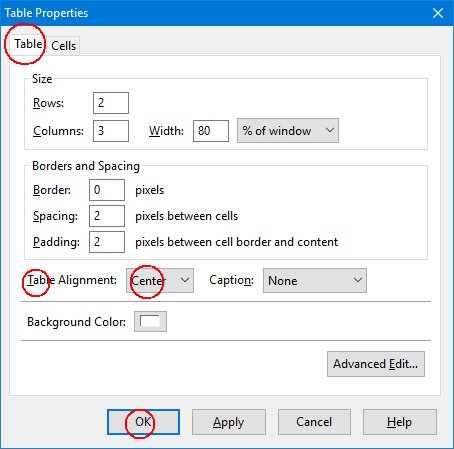
- We want to center that table so that we have a nice,
even background on either side of it. We DON'T want to center everything inside it. CLICK inside one
of the table cells and then CLICK the Table icon in the icon bar. In the pop up window, CLICK up top on the Table tab. Where it says Table Alignment, CLICK Left
and change it to Center. CLICK OK.
- The logos look okay now but when we start adding to the menu and link columns, the widths will change and the
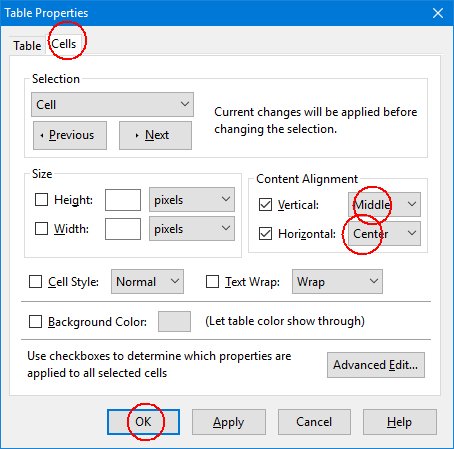
logos won't be centered in them. CLICK inside the box with the TXGenWeb logo and
CLICK the Table icon above. This time we'll leave it on the Cells tab. On the right, where it says
Content Alignment CLICK each of the two boxes and change them to Middle and Center.
CLICK OK. REPEAT this step for the USGenWeb logo on the right.
- My website title is centered horizontally in its cell but it needs to be in the middle vertically so I'll repeat step 2 for that.
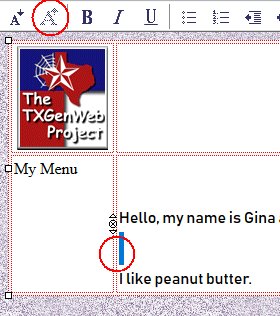
- Positioning one element inside a table cell is easy, just a couple of clicks. But what about positioning
one item in a cell that has multiple items? That's where your standard formatting tools come in handy. Most of the time, the
left, center and right buttons will position either text or an image. Just highlight what you want to move and then select
the button for where you want it. I want my page title to be on the right. When I highlight the text, all the formatting
options I've used change colors. This is handy for changing your mind. Positional defaults in a Composer table are TOP LEFT.

- Unfortunately I don't like that my page title is actually sitting right next to the cell wall on
the right. Elements in HTML have a PADDING option but, with Composer, I have to apply it to the whole table. I don't
necessarily want that right now so I'm going to cheat. I use the SPACEBAR on my keyboard to add two empty spaces to the
right of my page title. By manipulating spaces and font size, you can add just about any amount of space you want anywhere
you want. If one blank line isn't enough and two is too much, add a space, highlight that space and set it to a larger
font size. Keep in mind that 2 carriage returns is equal to a paragraph so you'll need to practice adding and deleting
lines to get the right combination to add that space.
- If you're creating a page without a table, you want to get all your information on it before you start moving things around. Quite often, you get things just right and then have to add or delete something and your positioning gets rearranged.
That's all I'm going to offer on positioning right now. Later, when you know more, I'll introduce you to a better way to manage elements on a page.